Adding Images to the Import File
Welcome to the guide on how to import images to your listings in your Etsy store. This guide will provide you with step-by-step instructions to ensure smooth and successful image imports.
Getting Started
Before we dive into the import process, it's crucial to ensure that all images are publicly accessible via the internet. This means that anyone with an internet connection should be able to view the image in a web browser.
IMPORTANT! The specified URL must directly lead to the physical image file and not to a webpage where the image is embedded. This is essential for proper image importation.
Verifying Image Accessibility
Follow these steps to verify that an image is publicly accessible:
-
Launch a web browser such as Chrome, Internet Explorer, or Firefox.
-
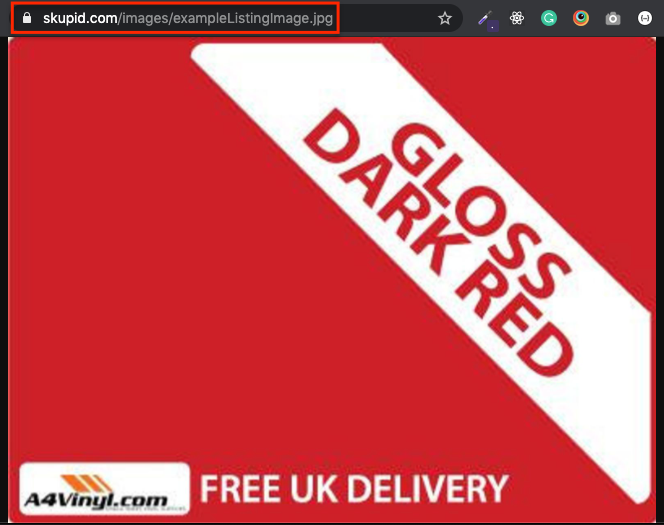
Type the image URL in the address bar. For example: https://www.skupid.com/images/exampleListingImage.jpg
-
Hit Enter to load the image in the web browser.
If you can't see the image, it indicates that either the image URL is incorrect or the image is not publicly accessible.
Adding images to your import file is essential for showcasing your products effectively on Etsy. This guide provides clear instructions and guidelines for adding images to import files for different importers.
Adding Images to the Import File for the Basic Listing Importer.
When using the Basic Listing Importer -- follow these rules and guidelines:
-
Specify all images as a comma-delimited list within a single cell.
-
Commas within image URLs must be URL encoded by replacing "," with "%2C". For example:
http://myimageurl.com/my%2C1.jpg,http://myimageurl.com/my%2C2.jpg
Below is an example of what an import file with images for the Basic Listing Importer would look like.
| title | images |
|---|---|
| the title | https://www.skupid.com/images/exampleListingImage.jpg,https://www.skupid.com/images/exampleListingImage2.jpg,https://www.skupid.com/images/exampleListingImage3.jpg |
Adding Images to the Import File for the All To One Listing Importer.
When using the All To One Listing Importer, follow these rules and guidelines:
-
Specify one image URL per row within a single cell.
-
Images are taken from the first row down until the maximum allowed images are reached.
Below is an example of what an import file with images for the All To One Listing Importer would look like.
| title | image |
|---|---|
| the title | https://www.skupid.com/images/exampleListingImage.jpg |
| https://www.skupid.com/images/exampleListingImage2.jpg | |
| https://www.skupid.com/images/exampleListingImage3.jpg |
For the Parent Child Variation Listing Importer.
When using the Parent Child Variation Listing Importer -- follow these guidelines.
-
Specify one image URL per row within a single cell.
-
Images are taken from the first row down until the maximum allowed images are reached.
Below is an example of what an import file with images for the Parent Child Variation Listing Importer would look like.
| title | image |
|---|---|
| the title | https://www.skupid.com/images/exampleListingImage.jpg |
| https://www.skupid.com/images/exampleListingImage2.jpg | |
| https://www.skupid.com/images/exampleListingImage3.jpg |
For the Deprecated Basic Listing Importer.
IMPORTANT! Please avoid using the deprecated basic importer as no future updates will be made to it. It exists solely to support import files created within previous versions of our application. We strongly recommend updating your existing import files to use the basic listing importer.
When using the Deprecated Basic Listing Importer -- follow these guidelines.
-
Specify one image URL per cell in a row.
-
Use the following naming convention for the import file column headings: image1, image2, image3...
Below is an example of what an import file with images for the Deprecated Basic Listing Importer would look like.
| title | image1 | image2 | image3 |
|---|---|---|---|
| the title | https://www.skupid.com/images/exampleListingImage.jpg | https://www.skupid.com/images/exampleListingImage2.jpg | https://www.skupid.com/images/exampleListingImage3.jpg |